Introduction to Earthquake Cake Recipe
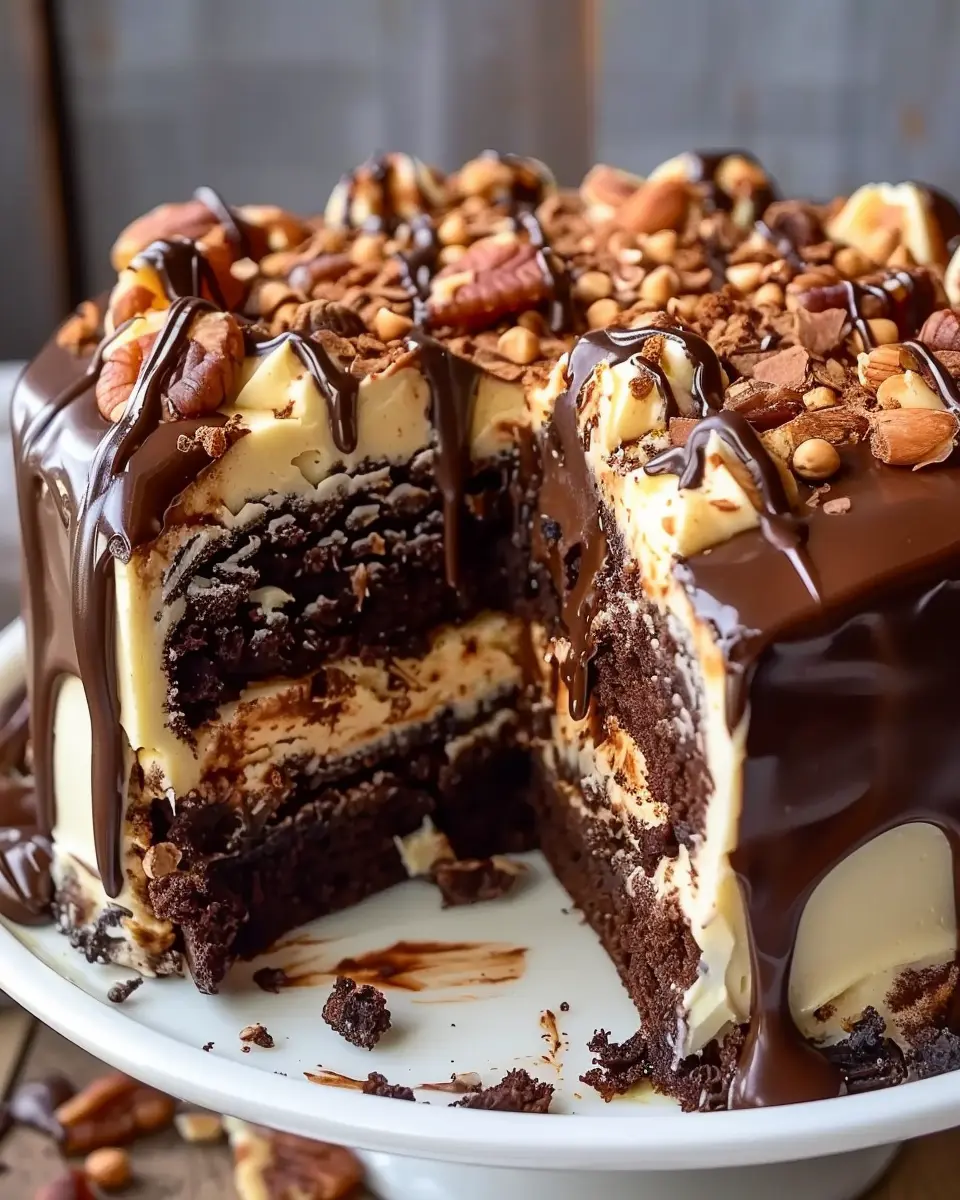
When you hear the name earthquake cake, your curiosity is instantly piqued. What could possibly make a cake feel like an earthquake? Well, this delightful dessert is not only visually stunning but also rich in flavor and texture that seems to rock your taste buds. Made with layers of chocolate cake, cream cheese, and nuts, it’s a beautiful disaster that will leave you—and your guests—wondering how something so delicious can come from such a chaotic combination. If you’re looking for a showstopper at your next gathering or just want to impress a few friends, this is a must-try recipe!
The origins of the earthquake cake recipe are just as intriguing as the cake itself. Some say it hails from the southern regions of the United States, where comfort food reigns supreme. The sudden cracks in the cake resemble the natural upheaval caused by seismic activity, hence the name. Its quirky identity is just one reason why it has gained a loyal following. A quick look at dessert blogs or social media will show you this cake’s popularity—you might even say it has seismic impacts in the world of baking.
So, why should you give this recipe a whirl? First, it’s incredibly simple to make. Even if you’re new to baking, the earthy aroma of chocolate combined with the creamy consistency of cream cheese will make your kitchen feel like a five-star bakery. Plus, you can customize it! Use Turkey Bacon, Chicken Ham, or even beef for a savory twist or explore various nut toppings based on your preference.
For those interested in nutritional factors, it’s worth noting that adding nuts not only enhances flavor but also provides a dose of healthy fats. You can read more about the benefits of nuts on Healthline as they offer heart-healthy properties that might surprise you!
In conclusion, the earthquake cake recipe is not just a cake; it’s an experience waiting to unfold. Get ready to indulge in a slice of this delightful chaos, and enjoy the compliments that follow.
Ingredients for Earthquake Cake
The essential components for a delicious Earthquake Cake
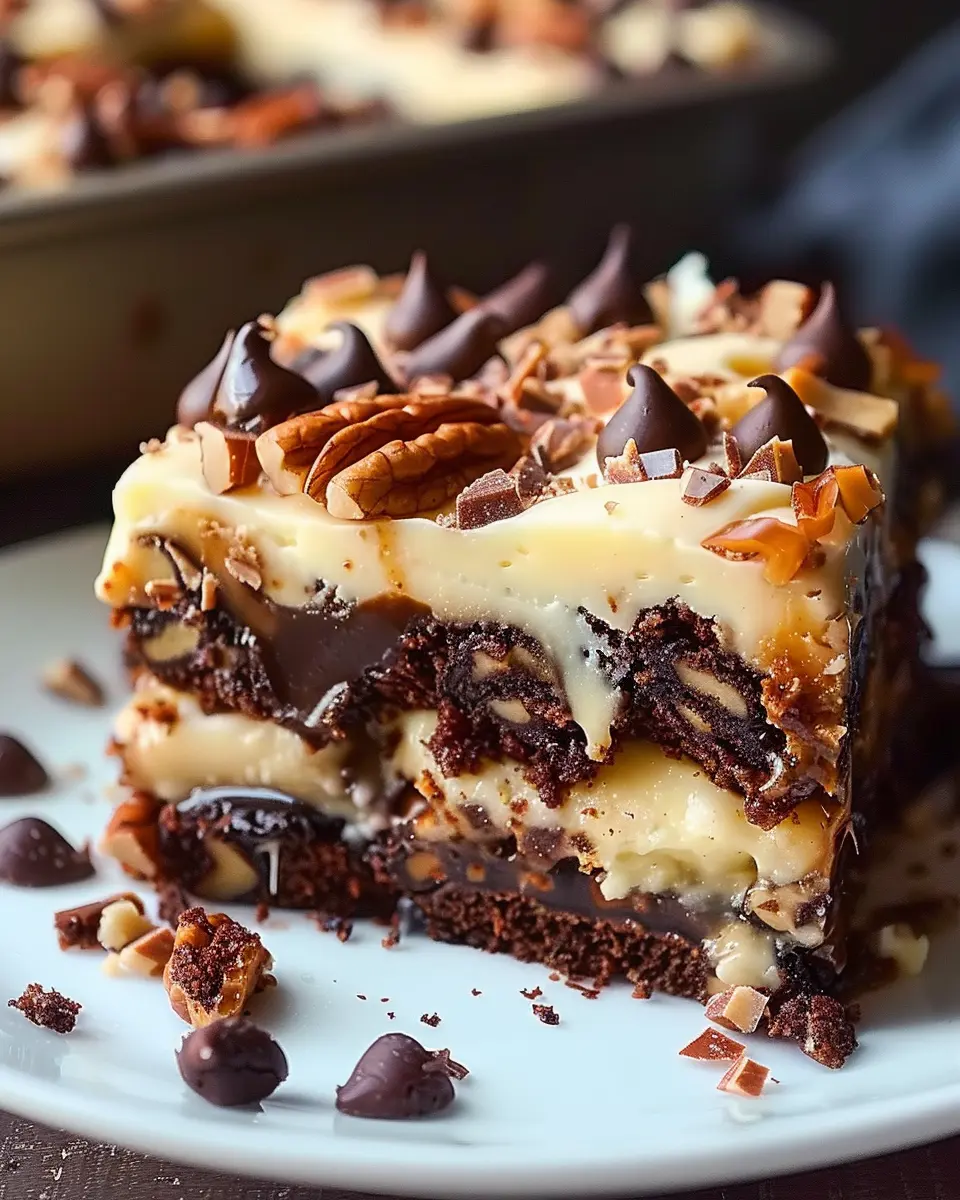
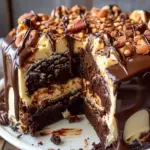
If you’re ready to indulge in a dessert that’s as memorable as it is delightful, let’s talk about the ingredients that make up this unique Earthquake Cake recipe. This rich chocolate cake features an eye-catching twist with cream cheese and nut topping that resembles cracks of an earthquake—charming, right?
Here’s what you’ll need:
- Chocolate cake mix: The base flavor that gives your cake its rich, cocoa goodness.
- Eggs: These will help bind and rise your cake for a light texture.
- Vegetable oil: Keeping things moist and adding richness to the cake.
- Water: Essential for mixing everything to the right consistency.
- Cream cheese: This will be swirled into the batter for that delicious, creamy layer.
- Turkey bacon (cooked and crumbled): For a savory crunch that pairs beautifully with sweetness.
- Chicken ham (diced): Adds a fantastic salty element.
- Chopped nuts: Walnuts or pecans work wonderfully to bring added texture.
Getting these ingredients together will set you on the path to creating a treat that your friends and family will rave about. Ready to bake? Make sure to preheat your oven while gathering everything up! And if you’re interested in other similar dessert ideas, check out this article on incredible chocolate desserts.
Step-by-Step Preparation of Earthquake Cake
Creating a delicious Earthquake Cake is an enjoyable journey that ends with a mouthwatering dessert to share with friends and family. Whether you’re hosting a gathering or simply indulging your own sweet tooth, this recipe will not disappoint. Let’s dive right into the step-by-step process of making this delightful dish!
Gather Your Ingredients
First things first, you’ll want to collect all the ingredients prior to starting. This cake is wonderfully easy to prepare, but having everything on hand makes the process even smoother. Here’s what you’ll need:
- 1 cup shredded coconut
- 1 cup chopped pecans
- 1 package (16.5 oz) chocolate cake mix
- 1 cup water
- 1/2 cup vegetable oil
- 3 large eggs
- 8 oz cream cheese (softened)
- 1/2 cup butter (softened)
- 4 cups powdered sugar
- 1 cup chocolate chips (optional but recommended)
Do you want to make a healthier version? Substitute some ingredients for healthier alternatives like using whole wheat flour or unsweetened applesauce instead of butter.
Preheat the Oven and Prepare the Baking Dish
Now that you’ve gathered your ingredients, it’s time to get your kitchen ready. Preheat your oven to 350°F (175°C) so it’s nice and hot by the time your batter is ready. Then, grab a 9×13-inch baking dish and grease it lightly with cooking spray or butter. This will ensure your cake easily releases after baking.
Layer the Coconut and Pecans
Take a moment to sprinkle the shredded coconut and chopped pecans evenly across the bottom of the prepared baking dish. This step is where the earthquake cake recipe gets its unique name. The layers create a beautiful mixture during baking, resembling an impressive landscape of flavors!
Mix the Chocolate Cake Batter
Next, in a large mixing bowl, combine the chocolate cake mix, water, vegetable oil, and eggs. Use an electric mixer on medium speed for about 2 minutes until the batter is smooth and thick. The rich chocolate aroma already filling your kitchen is a wonderful sign of what’s to come!
Combine the Cream Cheese Mixture
In a separate bowl, blend the softened cream cheese and butter until creamy. Gradually add in the powdered sugar, mixing until you achieve a rich, smooth texture. This mixture is what creates the “earthquake” in your cake!
Pour and Swirl the Mixtures
Now, it’s time to create some delicious chaos! Pour half of the chocolate cake batter over the coconut and pecan layer. Carefully spoon dollops of the cream cheese mixture on top and then pour the rest of the chocolate batter over everything. Use a knife to gently swirl the cream cheese through the chocolate batter to create a marbled effect. Don’t worry about perfection; it adds to the rustic charm of the cake.
Add Chocolate Chips and Bake
If you’re a chocolate lover (who isn’t?), sprinkle the chocolate chips on top of your cake before placing it in the oven. Bake for about 30-35 minutes or until a toothpick inserted in the center comes out clean. The kitchen will soon be filled with wonderful scents, making it hard to wait!
Let It Cool and Serve
Once out of the oven, let your cake cool in the pan for about 10-15 minutes. This cooldown period is essential as it allows the flavors to settle beautifully. After cooling, you can cut generous squares and serve your earthquake cake either warm or chilled, dusted with some powdered sugar for visual appeal.
This cake is not only an eye-catcher but a true crowd-pleaser! Enjoy sharing this dessert that is sure to impress. If you’re looking for more dessert inspiration, check out sources like Food Network or BBC Good Food for additional ideas!
Variations on Earthquake Cake
Earthquake cake is a deliciously rich dessert with room for creative twists. Whether you’re avoiding certain ingredients or simply want to shake things up, check out these tasty variations.
Coconut-free Earthquake Cake
Coconut is a key ingredient in classic earthquake cake recipes, lending a tropical flair. However, if you or a guest are coconut-averse, you can replace it with a subtle vanilla flavor. Simply omit the shredded coconut and add an additional half cup of chocolate chips for extra richness. Not only does this keep the dish moist, but it also enhances that chocolaty goodness we all crave!
Nut-free Earthquake Cake
Nut allergies can make baking a challenge. To make a nut-free version of your earthquake cake recipe, skip the nuts entirely. Instead, consider adding a sprinkle of sunflower seeds on top for a delightful crunch without the nut allergy concerns. You can also substitute nut-flavored extracts (like almond) with vanilla extract to keep the flavor profile interesting.
Gluten-free Earthquake Cake
For those avoiding gluten, you can easily adapt your earthquake cake recipe to be gluten-free. Use a one-to-one gluten-free baking mix instead of regular flour. Brands like Bob’s Red Mill and King Arthur Flour have quality options that maintain the same texture as traditional flour. Additionally, be sure to check that all other ingredients, like baking powder and chocolate chips, are gluten-free.
With these variations, you can savor earthquake cake no matter your dietary needs! Want more ideas? Explore other baking tips and modifications at King Arthur Baking or Serious Eats.
Cooking Tips and Notes for Earthquake Cake
Common pitfalls and how to avoid them
When diving into the earthquake cake recipe, it’s easy to fall into a few traps. One of the most common issues is underbaking. Since the cake is dense, it might appear done on the edges while still being gooey in the center. To avoid this, always do the toothpick test: insert it into the center, and if it comes out clean or with a few crumbs, you’re good to go.
Another pitfall is overmixing the batter, which can lead to a tough cake. Mix just until the ingredients come together. Lastly, ensure your oven is preheated properly; an oven thermometer can make a world of difference.
Storing and freezing your Earthquake Cake
Once you’ve enjoyed a slice (or two), you might wonder how to store the rest. Cover your earthquake cake with plastic wrap or aluminum foil and keep it at room temperature for up to three days. For longer storage, you can freeze individual slices in airtight containers for up to three months. When ready to enjoy again, simply let it thaw in the fridge overnight, and you’ll have a delicious treat waiting for you! Check out more tips on cake storage here for added insights.
Serving Suggestions for Earthquake Cake
Ideal accompaniments for an Earthquake Cake
When serving your delightful earthquake cake, you’ll want to think about what pairs well with its rich flavors and decadent textures. Here are some fantastic suggestions to elevate your dessert experience:
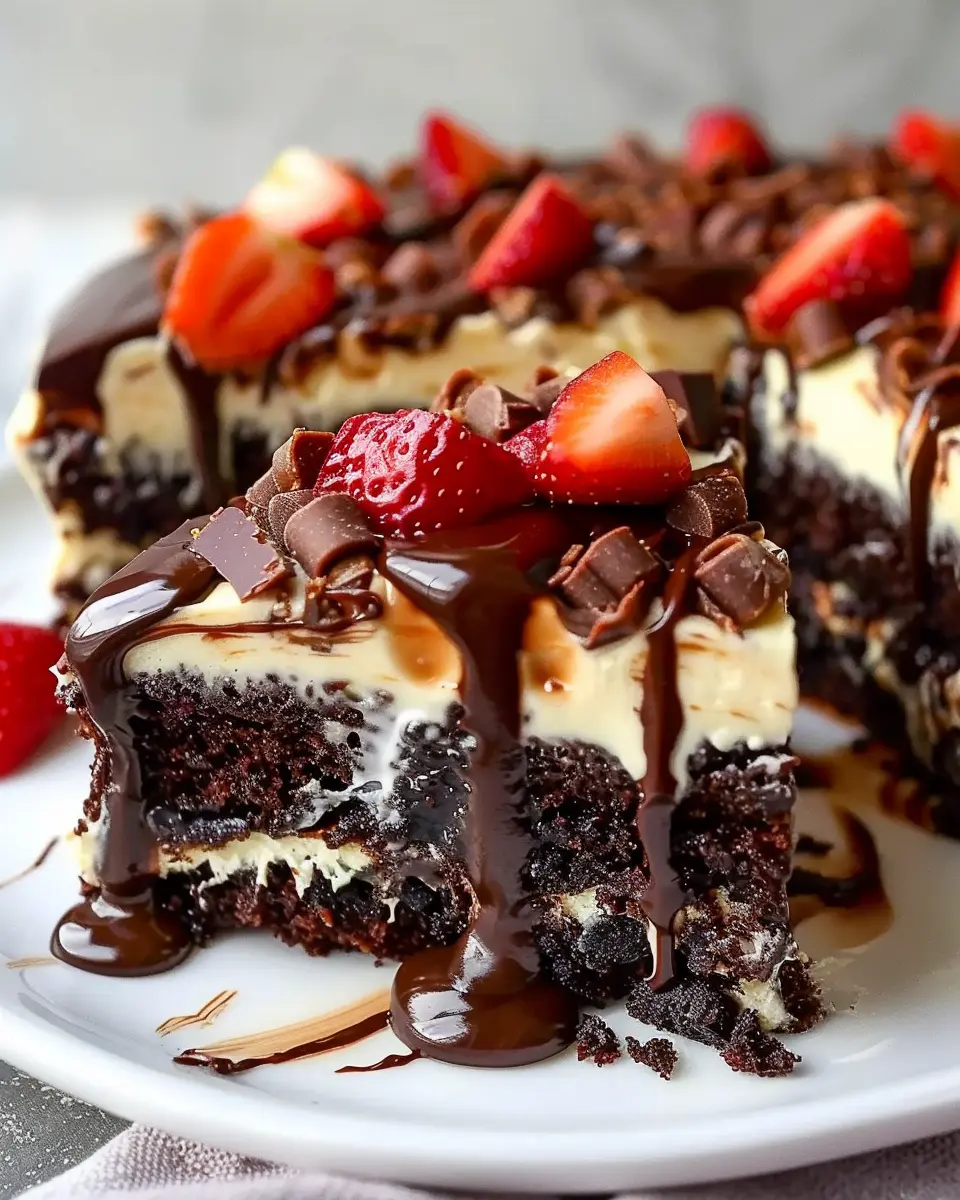
- Fresh berries: A burst of acidity from raspberries or strawberries can balance the sweetness beautifully.
- Vanilla ice cream: The creaminess offers a perfect contrast to the cake’s textures and enhances each bite.
- Whipped cream: Light and airy, a dollop can add a delightful freshness.
- Coffee or tea: A warm cup of your favorite brew complements the dense chocolate and coconut richness wonderfully, making it a cozy indulgence.
Presentation ideas for gatherings
When it comes to showcasing your earthquake cake recipe at a gathering, presentation is key! Consider these tips to impress your guests:
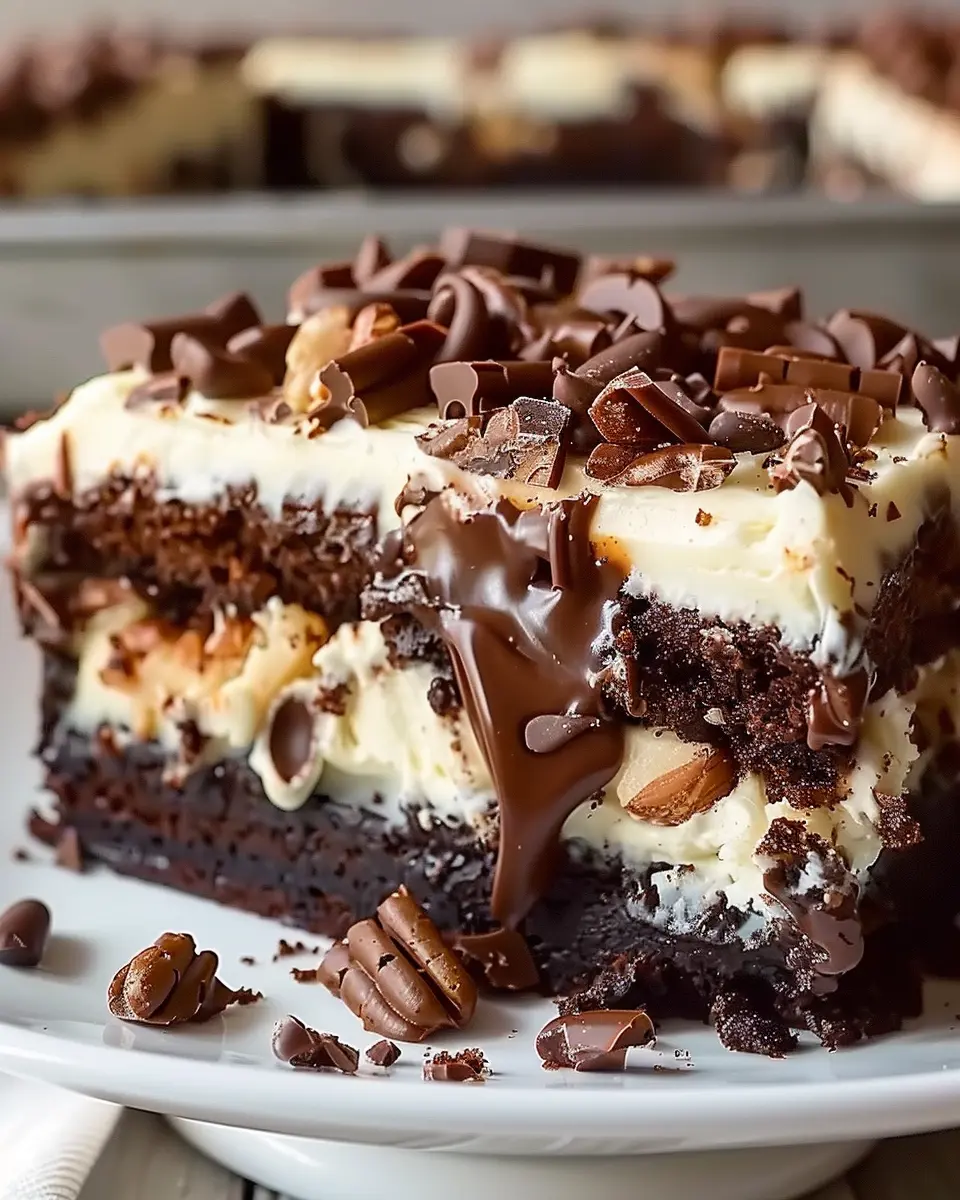
- Layered display: Place the cake on a beautiful cake stand, and garnish with chocolate shavings or a sprinkle of toasted coconut for an elegant touch.
- Individual servings: Slice the cake into squares and serve on decorative plates. Add a mint leaf for a pop of color.
- Accompaniment station: Set up a small table with ice cream and toppings like crushed nuts or extra coconut, allowing guests to customize their dessert.
With these ideas, your earthquake cake will not only taste amazing but also look stunning when served!
Time Breakdown for Earthquake Cake
Preparation time
Making your earthquake cake recipe begins with about 20-25 minutes of prep work. This is your time to gather ingredients like cream cheese, chocolate chips, and, of course, the cake mix. Don’t rush; ensure everything is measured and ready to go.
Baking time
Once you’ve mixed everything together, pour it into your prepared baking pan and let it bake for around 45-50 minutes. The aroma will fill your kitchen, and you’ll know it’s close to being done!
Cooling time
After you pull it out of the oven, let your cake cool in the pan for about 15 minutes. This step really helps those flavors meld together beautifully.
Total time
In total, you’re looking at approximately 1 hour and 30 minutes from start to finish. Perfect for a weekend treat or any gathering! Looking for a deeper dive into cake baking? Check out this guide on cake origins for some sweet history!
Nutritional Facts for Earthquake Cake
Understanding the nutritional profile of your favorite treats can help you enjoy them mindfully. Here’s a closer look at the Earthquake Cake Recipe:
Calories per slice
An average slice of Earthquake Cake contains approximately 350-400 calories. With rich ingredients like cream cheese and chocolate, it’s a calorific delight that’s certainly worth the indulgence on special occasions.
Sugar content
When it comes to sugar content, a serving can have around 30 grams of sugar. If you’re watching your sugar intake, it’s good to enjoy this cake in moderation, as this delightful dessert packs a sweet punch.
Fat content
You can expect about 20 grams of fat per slice, largely from the cream cheese and nuts. While it contributes to that deliciously moist texture, be mindful of your overall dietary fat intake for the day.
Indulging in a slice of Earthquake Cake now and then can be a joyful experience, but balancing it with a healthier diet is key! Need more tips on nutrition? Check out resources like the USDA’s MyPlate for guidance on balanced eating!
FAQs about Earthquake Cake
When it comes to baking, questions often arise, and Earthquake Cake is no exception! Here are some common queries that may help you make the most of your delicious creation.
How can I make my Earthquake Cake less sweet?
If you find that your Earthquake Cake tends to be on the sweeter side, there are a few tricks you can try:
- Reduce Sugar: Cut down the sugar in the batter by about 1/4 cup.
- Dark Chocolate: Substitute semi-sweet chocolate chips for dark chocolate; it has a richer flavor that balances out sweetness.
- Add Salt: A pinch of salt can enhance flavors and counteract the sweetness.
For more expert tips on balancing sweetness in desserts, check out this baking guide.
Can I add other toppings or fillings to the cake?
Absolutely! One great thing about the Earthquake Cake Recipe is its flexibility. Consider these delicious additions:
- Nuts: Walnuts or pecans can add a lovely crunch.
- Fruits: Fresh berries or a fruit glaze will bring a fresh twist.
- Cream Cheese Swirls: Incorporating cream cheese in the batter adds a rich and tangy flavor.
Feel free to get creative! The cake is a perfect base for your favorite flavors.
How do I store leftovers properly?
If you have leftover Earthquake Cake (though that might be rare!), proper storage is key:
- Room Temperature: Keep it covered at room temperature for up to three days.
- Refrigerator: If you prefer it chilled, wrap it tightly and store it in the fridge for up to a week.
- Freezing: For long-term storage, slice the cake and freeze it in an airtight container.
When you’re ready to enjoy it again, let it thaw at room temperature for the best taste and texture.
By addressing these common questions, you can ensure that your Earthquake Cake is not only delicious but perfectly suited to your tastes!
Conclusion on Earthquake Cake
Final thoughts and encouragement to try the recipe
As we wrap up our journey with this delightful earthquake cake recipe, I hope you’re feeling inspired to give it a go! This cake isn’t just about the unique texture and flavors; it’s a delightful way to bring joy to gatherings or simply enjoy at home.
Taking the time to bake can be a rewarding experience, especially when it comes to sharing with friends or family. Just imagine the smiles as everyone digs into that rich, gooey goodness! So, roll up your sleeves, gather your ingredients, and let the deliciousness unfold. You’ll be glad you did! For more baking tips, check out Food Network or Bon Appétit for inspiration. Happy baking!
PrintEarthquake Cake Recipe: Easy Indulgence for Home Bakers
Experience the delightful flavors of our Earthquake Cake, an indulgent dessert that is perfect for home bakers. This recipe blends chocolate and nuts with a creamy cream cheese layer.
- Prep Time: 15 minutes
- Cook Time: 35 minutes
- Total Time: 50 minutes
- Yield: 12 servings 1x
- Category: Dessert
- Method: Baking
- Cuisine: American
- Diet: Vegetarian
Ingredients
- 1 cup chopped walnuts
- 1 box (15 oz) chocolate cake mix
- 4 oz cream cheese
- 1 cup powdered sugar
- 1 cup shredded coconut
- 1 cup water
Instructions
- Preheat your oven to 350°F (175°C).
- Spread chopped walnuts evenly on the bottom of a greased 9×13 inch baking dish.
- In a bowl, mix chocolate cake mix with water until just combined.
- Pour the cake batter over the walnuts in the baking dish.
- In another bowl, mix cream cheese and powdered sugar until smooth. Drop spoonfuls over the cake batter.
- Sprinkle shredded coconut on top of the cake.
- Bake for 30-35 minutes or until a toothpick inserted comes out clean.
Notes
- Ensure the cream cheese is at room temperature for easier mixing.
- For extra flavor, consider adding chocolate chips to the cake batter.
Nutrition
- Serving Size: 1 slice
- Calories: 350
- Sugar: 25g
- Sodium: 200mg
- Fat: 15g
- Saturated Fat: 5g
- Unsaturated Fat: 8g
- Trans Fat: 0g
- Carbohydrates: 45g
- Fiber: 2g
- Protein: 5g
- Cholesterol: 30mg
Keywords: Earthquake Cake, cake recipe, dessert, home baking