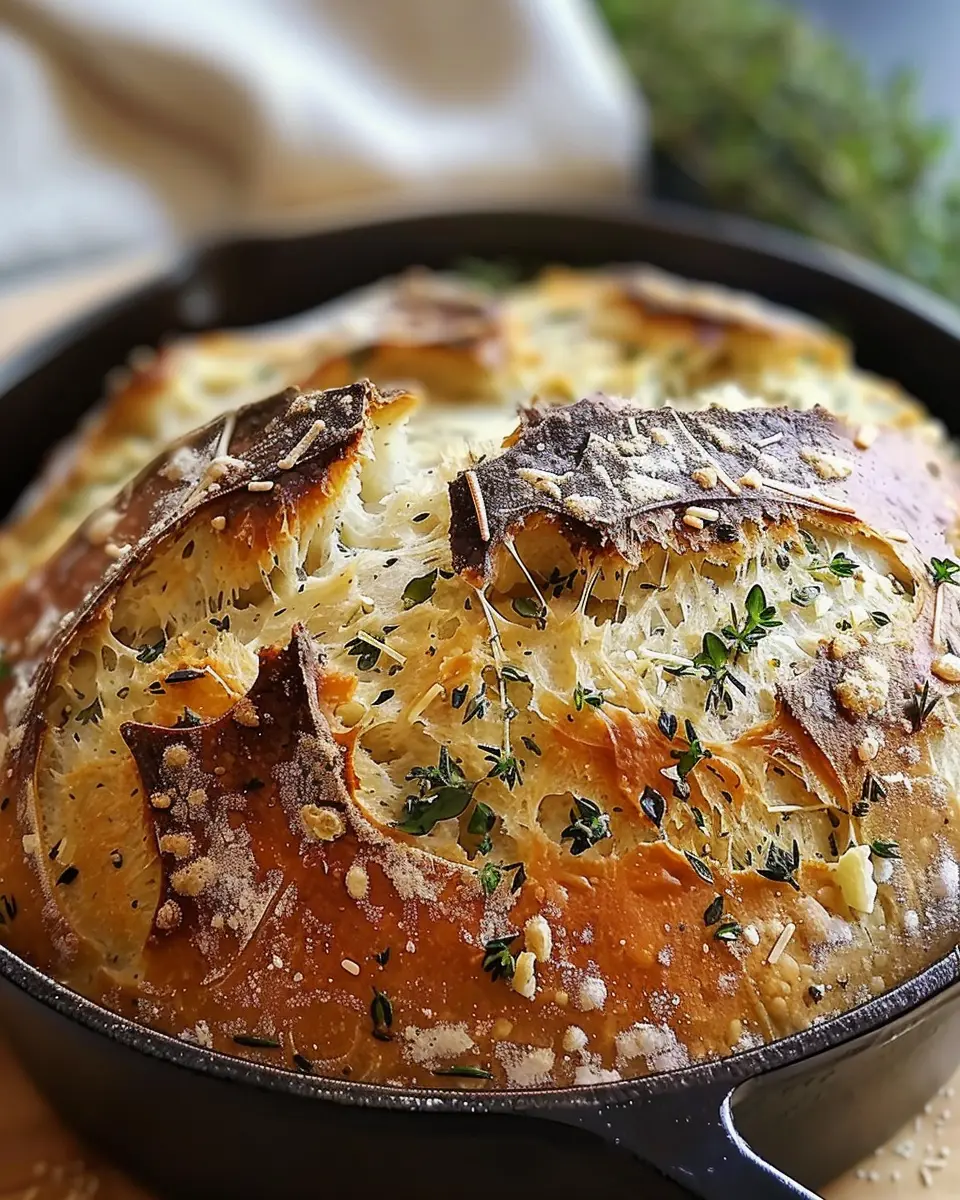
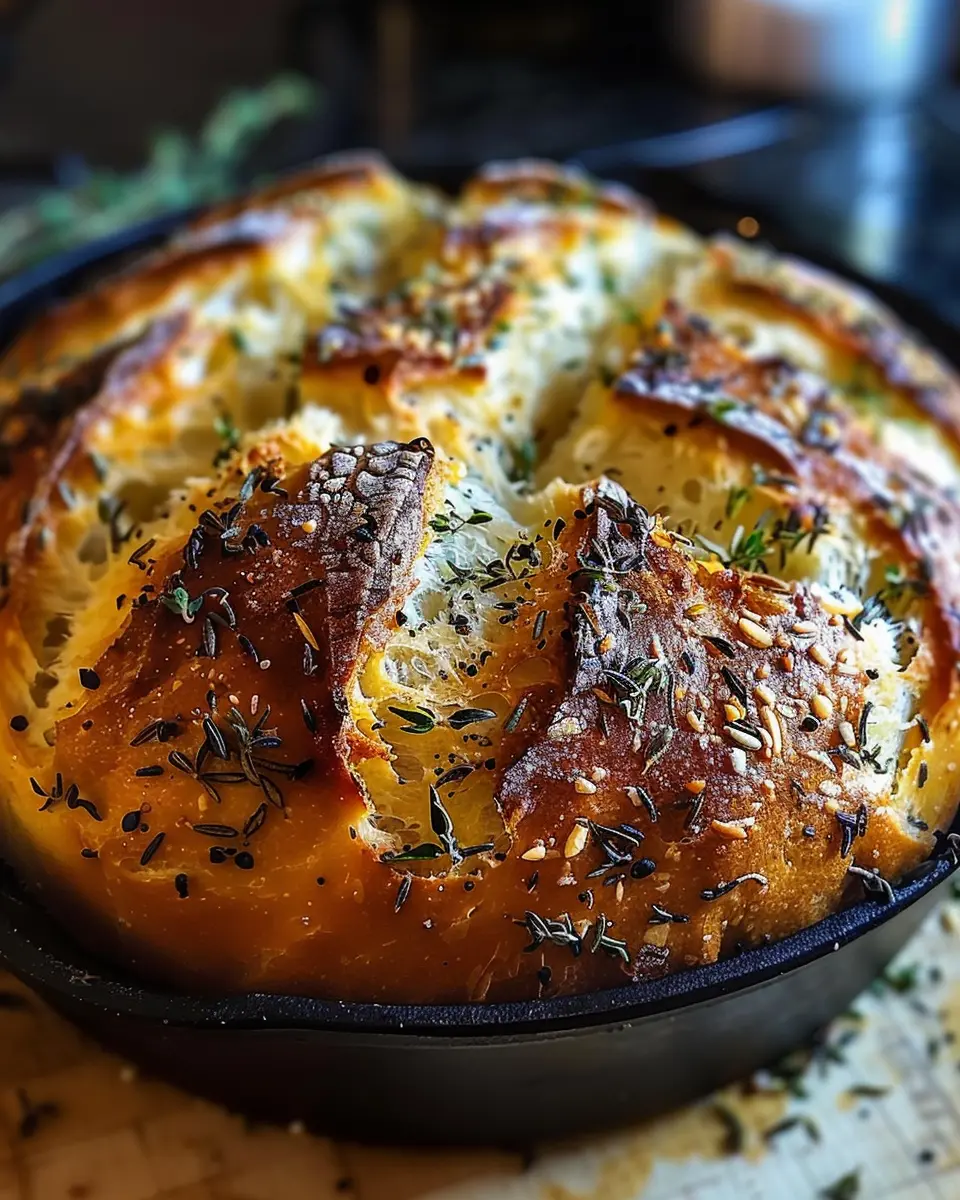
Introduction to Garlic Herb Dutch Oven Bread
There’s something undeniably satisfying about creating your own bread from scratch, especially when it’s as flavorful as Garlic Herb Dutch Oven Bread. For young professionals navigating their busy lives, this recipe can truly be a game-changer.
Why homemade bread is a game changer for young professionals
Imagine coming home after a long day at work, collapsing on the couch, and then realizing you forgot to plan dinner. Instead of reaching for takeout or settling for another frozen meal, why not whip up a quick batch of homemade bread? With just a few simple ingredients, you can create a delicious and satisfying accompaniment to any meal, elevating your dining experience significantly.
According to studies, cooking at home can save you substantial money—up to 60% compared to restaurant meals (source). And let’s not forget about those can’t-resist aromas wafting through your kitchen as this garlic herb bread bakes. The smell alone can make your space feel cozy and welcoming, not to mention it sparks conversation when guests come over.
Whether you’re hosting friends for a casual dinner or just indulging yourself, this Garlic Herb Dutch Oven Bread Recipe fits right in. It’s not only easy to prepare, but it’s also customizable. You can experiment with different herbs or add-ins to match your mood. Picture yourself enjoying warm slices slathered with butter or dipped in a rich soup.
Moreover, making your own bread allows you to control the ingredients. This means you can avoid preservatives and additives often found in store-bought loaves. Instead, you’ll create something fresh, warm, and nourishing, just how bread was meant to be.
If you’re short on time, don’t worry! This recipe is straightforward and doesn’t require any fancy kitchen gadgets. You just need a Dutch oven and a few staple ingredients. Ready to roll up your sleeves and get baking? Let’s dive into the recipe that will make your kitchen the heart of your home!
For more insights on the benefits of cooking at home and some tips to get you started, consider checking out resources like The Kitchn and Serious Eats.
Ingredients for Garlic Herb Dutch Oven Bread
Creating the perfect Garlic Herb Dutch Oven Bread doesn’t require any mystical culinary powers. With just a handful of quality ingredients, you’ll be on your way to baking bliss. Here’s what you’ll need:
Essential Ingredients
- All-Purpose Flour: 3 cups, for that ideal structure and chew.
- Warm Water: 1 ½ cups, to activate the yeast and get things bubbly.
- Yeast: 1 packet (or about 2 ¼ teaspoons), the magic that makes your bread rise.
- Salt: 2 teaspoons, for flavor enhancement that every loaf craves.
- Olive Oil: 2 tablespoons, because bread is always better with a hint of richness.
- Garlic: 3-4 cloves, minced or crushed, to infuse that aromatic garlicky goodness.
- Herbs: Fresh or dried herbs like rosemary, oregano, or thyme (1-2 tablespoons), which amplify the overall flavor profile of the bread.
Each ingredient plays a crucial role, contributing to the delightful aroma and scrumptious taste of your Garlic Herb Dutch Oven Bread. So, gather these staples, and let’s get baking! If you’d like more tips on ingredient selection, check out this expert guide on choosing quality baking ingredients.
With your pantry stocked, you’re just a few steps away from your next favorite homemade bread!
Preparing Garlic Herb Dutch Oven Bread
Baking your own bread sounds like a daunting task, but fear not! This Garlic Herb Dutch Oven Bread Recipe is as approachable as it is delicious. Grab your apron, and let’s dive into the essentials of making this aromatic, crusty delight.
Gathering and measuring your ingredients
Before we start mixing, it’s crucial to gather all your ingredients. You’ll need:
- 3 cups of all-purpose flour
- 1 teaspoon of sugar
- 2 teaspoons of salt
- 1 teaspoon of instant yeast
- 1 cup of warm water (about 110°F)
- 3 tablespoons of olive oil
- 1 tablespoon of minced garlic (fresh or jarred)
- A mix of your favorite dried herbs (think rosemary, thyme, or oregano)
Measuring accurately ensures the right texture and flavor in your Garlic Herb Dutch Oven Bread. Using a kitchen scale for the flour can be particularly helpful, as it can vary in weight based on how you scoop it. A great guide on measuring flour can be found at Serious Eats.
Mixing the dry ingredients with flavorful herbs
In a large mixing bowl, combine your flour, sugar, salt, and instant yeast. The sugar will help to activate the yeast while the salt adds flavor. Now, add your minced garlic and the dried herbs you’ve chosen, inspiring that savory aroma that will soon waft through your kitchen. Stir these ingredients together until everything is well integrated—that will evenly distribute the flavors throughout your bread.
Incorporating water for that perfect dough consistency
Once your dry ingredients are combined, it’s time to introduce water. Slowly pour in the warm water and olive oil, mixing gently with a wooden spoon or your hands. You want your dough to come together without being overly sticky or dry. If it feels too dry, add a bit more water—just a tablespoon at a time. This is where you can get hands-on! Kneading the dough can feel therapeutic and allows you to connect with your baking.
The magic of letting the dough rise
Now comes the hardest part: patience. Cover your bowl with a clean kitchen towel or plastic wrap and let the dough rise in a warm, draft-free place for about 1 to 2 hours, or until it doubles in size. This fermentation process is crucial, as it develops the flavor of your Garlic Herb Dutch Oven Bread. An ideal rising environment could be your oven (turned off, of course) or a sunny corner of your kitchen.
Shaping the dough for the Dutch oven
After the dough has risen, it’s time to shape it. Lightly flour your countertop and gently turn the dough out. Avoid knocking out too much air—handle it with care. Shape it into a ball by tucking the edges into the center, creating tension on the outer surface. This step is essential for a great crust and proper expansion during baking.
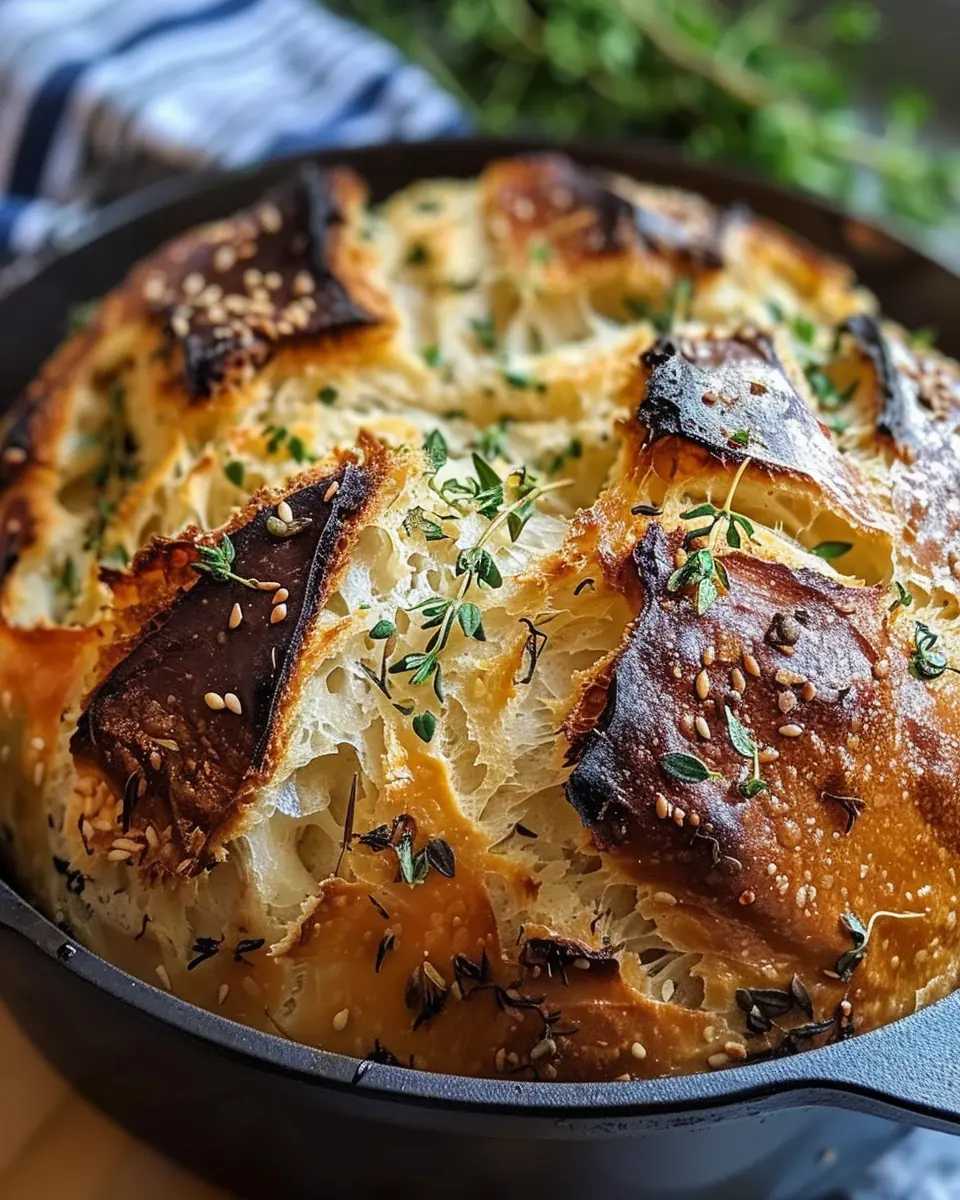
Preheating the Dutch oven for an artisan-like crust
While your dough is rising, preheat your oven to 450°F. Place your Dutch oven (with the lid on) inside to preheat as well. This will simulate a steamy bakery environment, perfect for creating that gorgeous, crusty exterior. If you don’t yet own a Dutch oven, consider investing in one; it’s a game changer for artisan bread.
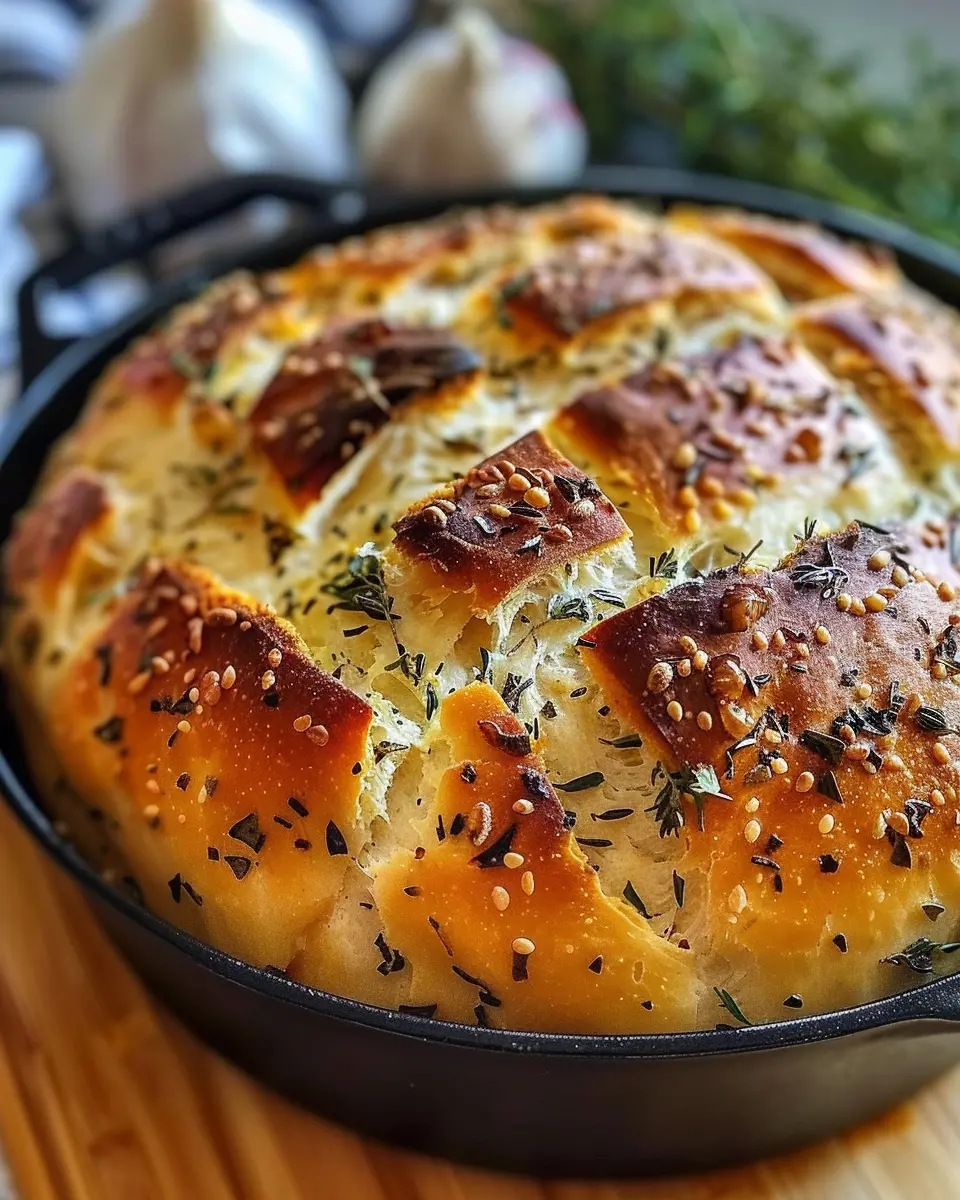
Baking the bread to perfection
Once your Dutch oven is hot and your dough is shaped, it’s time for the big moment! Carefully remove the pot from the oven (it will be extremely hot), then gently transfer your shaped dough inside. Cover it again with the lid and let it bake for about 30 minutes. After that, remove the lid and bake for an additional 10-15 minutes to develop a beautiful, golden crust.
Let your Garlic Herb Dutch Oven Bread cool for a bit before slicing. The anticipation will only enhance that first bite of warm, fragrant bread straight from your oven.
And there you have it—your very own homemade Garlic Herb Dutch Oven Bread! Want more tips or variations? Don’t hesitate to check out resources like King Arthur Baking for additional recipes and ideas!
Variations on Garlic Herb Dutch Oven Bread
Making a delicious Garlic Herb Dutch Oven Bread Recipe is just the beginning! Once you master the basics, you can easily customize it to suit your taste. Here are two fantastic variations that will elevate your baking game.
Adding cheese for a savory twist
Who doesn’t love the rich, gooey goodness of cheese? Adding some shredded cheese can turn this rustic bread into something extraordinary. Here’s how to incorporate it:
- Cheddar or Gruyère: Fold in about one cup of shredded cheese into the dough before your final rise. This adds a delightful surprise in every bite.
- Parmesan: Mix in grated Parmesan and sprinkle some on top for an irresistible crust. It pairs beautifully with the garlic and herbs.
Want to explore cheese pairings? Check out this cheese guide for inspiration!
Incorporating olives or sun-dried tomatoes for added flavor
For those who enjoy bold flavors, consider adding olives or sun-dried tomatoes. They can give your Garlic Herb Dutch Oven Bread a Mediterranean twist that’s hard to resist.
- Olives: Chopped black or green olives add a briny flavor. Aim for about half a cup to avoid overwhelming the bread’s texture.
- Sun-Dried Tomatoes: These should be chopped finely and mixed into the dough. They bring a lovely sweetness and depth; approximately half a cup works wonders.
Both options elevate your bread while providing unique textures and vibrant taste. Embrace experimentation! What will you add to your next loaf?
Cooking tips for Garlic Herb Dutch Oven Bread
Ensuring a perfect rise every time
Achieving that beautiful rise in your Garlic Herb Dutch Oven Bread Recipe is key to a fluffy texture. Start by activating your yeast properly; warm water (not too hot!) with a pinch of sugar can do wonders. Let it foam for about 5-10 minutes before mixing it with your dry ingredients. Additionally, a warm environment helps; consider placing your dough in a slightly heated oven (turned off) or covering it with a damp cloth to create a cozy, humid atmosphere.
For more tips on yeast proofing, check out the resources from the King Arthur Baking Company here.
Tips for kneading and shaping dough
When it comes to kneading, remember that it’s about developing gluten. Use the heel of your hand and push the dough away, then fold it back over. Aim for about 8-10 minutes for the best results. Don’t rush this step!
Shaping your dough is also crucial. Ensure it’s tight; forming a tight ball helps it hold its shape during the second rise. If you’re unsure about your technique, take a moment to watch a few kneading tutorials. They’ll boost your confidence and elevate your baking skills.
Try these tips, and you’ll be well on your way to mastering the art of bread baking!
Serving suggestions for Garlic Herb Dutch Oven Bread
Pairing with homemade soups and salads
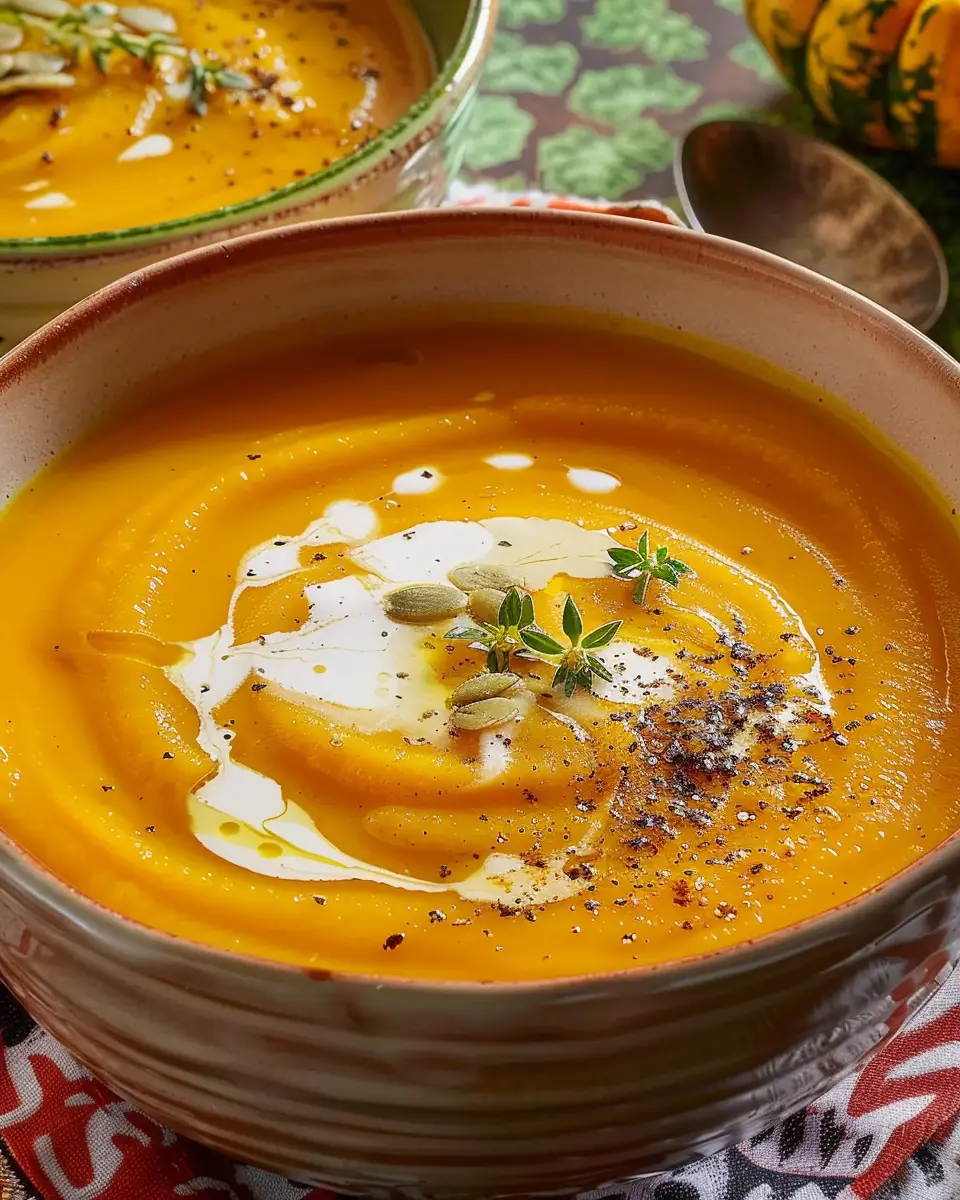
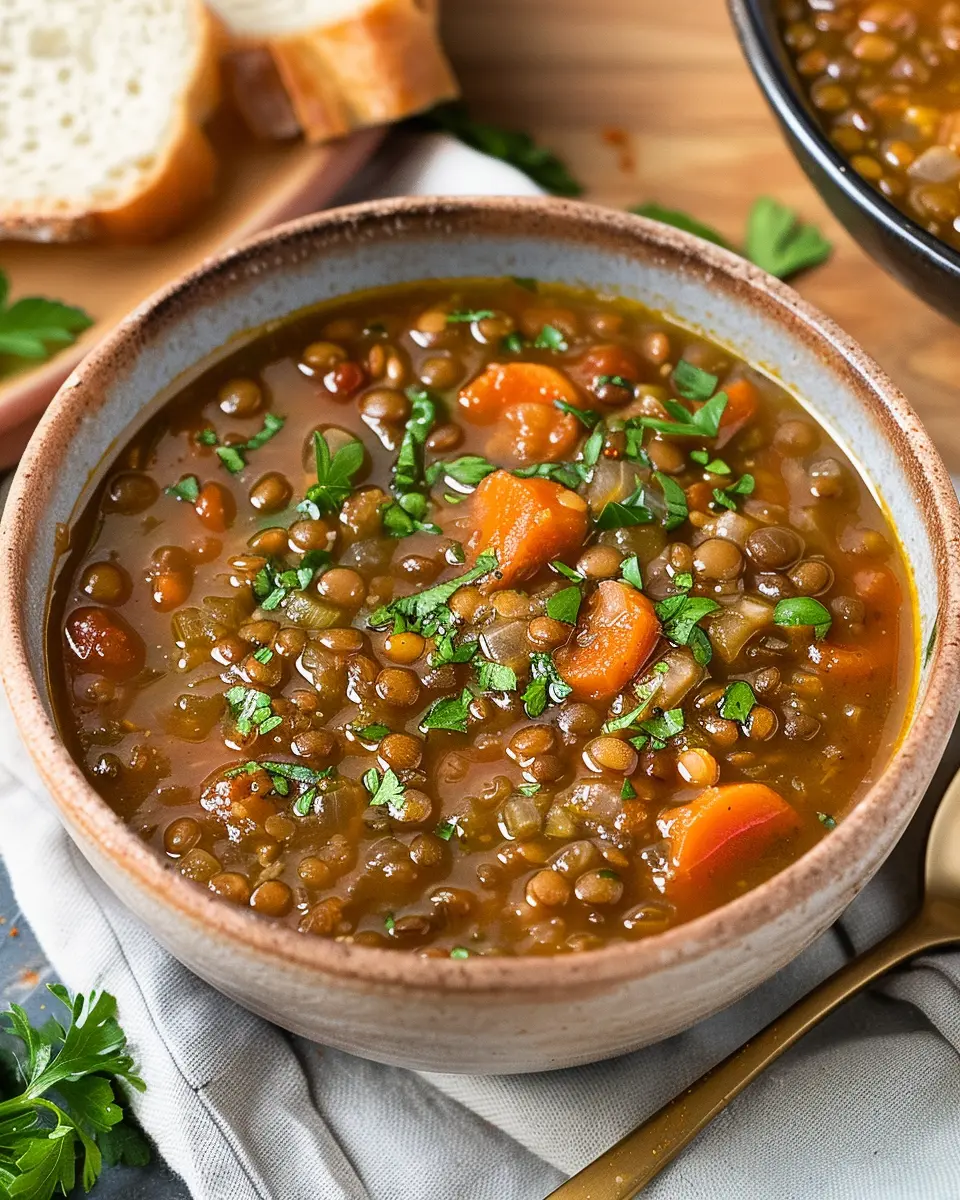
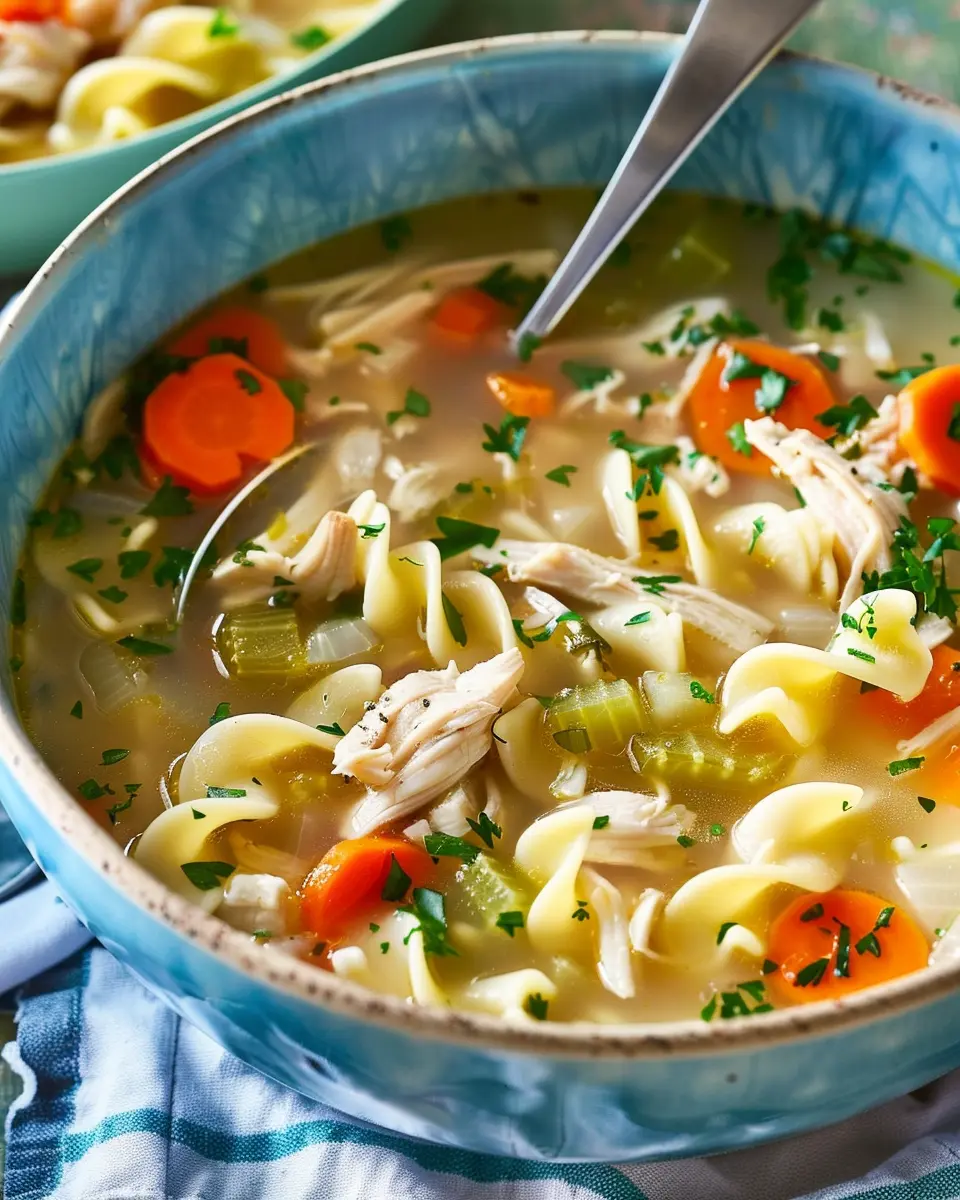
Imagine cozying up with a warm bowl of soup and a slice of your Garlic Herb Dutch Oven Bread. This delightful bread makes a fantastic companion for any homemade soup. Try it with creamy tomato basil, hearty minestrone, or even a savory chicken noodle. The bread’s crusty exterior and soft, herb-infused interior can soak up every last drop of broth, enhancing the flavors of your meal.
When it comes to salads, a simple mixed greens salad with a zesty vinaigrette pairs beautifully. The bread will offer just the right amount of crunch and aromatic flavor to elevate your dining experience.
The joy of enjoying bread with dips
Dipping is not just for chips! Spread some creamy hummus, roasted red pepper dip, or even a tangy spinach-artichoke dip on a slice of your Garlic Herb Dutch Oven Bread. The herb notes in the bread perfectly balance the richness of these dips, creating a delicious flavor profile. Perfect for game nights or casual gatherings, this combination will surely impress your friends!
For more ideas, consider checking out recipes on sites like Bon Appétit or Food Network for inspiration. Your meals will be unforgettable!
Time breakdown for Garlic Herb Dutch Oven Bread
When it comes to baking your own bread, understanding the time commitment is crucial. With our Garlic Herb Dutch Oven Bread Recipe, you’ll appreciate how manageable it can be. Here’s a quick breakdown to help you plan your baking adventure!
Preparation time
You’ll spend about 15 minutes measuring, mixing, and preparing the dough. It’s a chance to unwind, maybe even catch up on your favorite podcast while you work!
Rising time
Patience is key here. Letting the dough rise takes around 1 to 1.5 hours. This is when your kitchen will start to smell wonderfully aromatic, thanks to the garlic and herbs.
Baking time
Once the dough has risen beautifully, it’s time to bake! This will take approximately 30-40 minutes to achieve that crispy, golden crust.
Total time
In total, you’re looking at around 2 to 2.5 hours from start to finish. This includes preparing, rising, and baking. Trust me, once you taste the fresh bread, you’ll agree it’s worth the wait! For more insights on bread-making, check out King Arthur Baking.
Baking at home not only promises tasty results but also brings a delightful sense of accomplishment, perfect for impressing friends or simply enjoying a cozy night in.
Nutritional Facts for Garlic Herb Dutch Oven Bread
Calories per Serving
When you dig into a warm slice of Garlic Herb Dutch Oven Bread, you’re enjoying about 150 calories per serving. It’s perfect for enjoying as a side for your favorite meals or a snack on its own!
Carbohydrates and Proteins
This delightful bread boasts around 30 grams of carbohydrates, making it a satisfying option for energy. With about 4 grams of protein per serving, it offers a nice balance, although it’s mainly a carbohydrate-rich delight. Consider pairing it with some Turkey Bacon or a spread of Chicken Ham to enhance the protein content in your meal.
Dietary Considerations
If you’re wondering about dietary restrictions, this Garlic Herb Dutch Oven Bread Recipe is quite versatile! It’s vegetarian-friendly and can easily accommodate those following a dairy-free lifestyle with just a simple swap. You might also explore gluten-free alternatives by using specific gluten-free flours. Always check the labels to ensure it meets your dietary needs, and feel free to experiment with additional herbs for unique flavors!
For a deeper dive into the benefits of garlic and herbs, visit sources like Healthline to uncover nutrition-packed details that will inspire your culinary journey!
FAQs about Garlic Herb Dutch Oven Bread
Can I use whole wheat flour instead of all-purpose?
Absolutely! Substituting whole wheat flour for all-purpose flour in your Garlic Herb Dutch Oven Bread Recipe is doable, but keep in mind that it may yield a denser loaf. Whole wheat flour contains more fiber and moisture-absorbing properties, which means you might need to adjust the water content. A good rule of thumb is to start with about 25% whole wheat flour and gradually increase it as you get used to the texture.
What do I do if my dough doesn’t rise?
If your dough isn’t rising, don’t panic! Here are a few troubleshooting tips:
-
Check your yeast: Make sure your yeast is fresh. If it’s expired or not stored properly, it won’t activate effectively. You can test it by dissolving it in warm water with a bit of sugar; if it bubbles after a few minutes, it’s good to go.
-
Temperature matters: Yeast thrives in a warm environment. If your kitchen is too cold, consider placing the dough in a slightly heated oven (turned off) or near a warm area.
-
Time is on your side: Ensure you’re allowing enough time for rising. Sometimes dough just needs a little extra patience!
For more tips, you can explore resources like King Arthur Baking that offer great advice for bread-making.
How long can I store leftover bread?
Leftover Garlic Herb Dutch Oven Bread can be stored at room temperature in a bread bag or wrapped in parchment paper for up to three days. If you want to keep it longer, consider freezing the bread. Wrap it tightly in plastic wrap and then in aluminum foil to prevent freezer burn, and it can last up to three months. Just remember to slice it before freezing for convenient toasting!
By following these tips, you’ll not only enhance your bread-making experience but also ensure your delicious creations are always satisfying and flavorful. Happy baking!
Conclusion on Garlic Herb Dutch Oven Bread
Embracing the Art of Homemade Bread
Creating your own bread, particularly with a delightful Garlic Herb Dutch Oven Bread Recipe, is truly rewarding. The aroma that fills your kitchen while the dough rises and bakes is an experience that can’t be replicated. Plus, homemade bread is healthier and more satisfying than store-bought options. Have you ever considered how much you can customize your ingredients? Substituting in fresh herbs, like rosemary or thyme, can elevate your bread to new heights.
By investing in a quality Dutch oven, you’re not just buying a pot; you’re embracing a method that ensures even cooking and a perfect crust. If you’re looking for more bread inspirations, check out this resource on the health benefits of fresh herbs. So roll up your sleeves and dive into the joy of baking—your taste buds will thank you!
PrintGarlic Herb Dutch Oven Bread Recipe: Easy Homemade Delight
A delightful homemade bread recipe infused with garlic and herbs, perfect for any occasion.
- Prep Time: 15 minutes
- Cook Time: 45 minutes
- Total Time: 18 hours
- Yield: 1 loaf 1x
- Category: Bread
- Method: Baking
- Cuisine: American
- Diet: Vegetarian
Ingredients
- 3 cups all-purpose flour
- 1 teaspoon salt
- 1 teaspoon sugar
- 1 teaspoon instant yeast
- 1 1/2 cups warm water
- 2 tablespoons olive oil
- 3 cloves garlic, minced
- 2 teaspoons dried herbs (such as rosemary or thyme)
Instructions
- In a large mixing bowl, combine flour, salt, sugar, and instant yeast.
- Add warm water and olive oil, mixing until a sticky dough forms.
- Incorporate minced garlic and dried herbs into the dough.
- Cover the bowl with a damp cloth and let it rest for 12-18 hours at room temperature.
- Preheat your oven to 450°F (230°C) and place a Dutch oven inside to heat up.
- Transfer the dough onto a floured surface and shape it into a ball.
- Remove the hot Dutch oven from the oven, carefully place the dough inside, and cover it.
- Bake for 30 minutes covered, then remove the lid and bake for an additional 15 minutes until golden brown.
- Let the bread cool on a wire rack before slicing.
Notes
- Let the bread cool completely before storing to maintain its texture.
- This bread pairs wonderfully with olive oil or dipping sauces.
Nutrition
- Serving Size: 1 slice
- Calories: 150
- Sugar: 0.5g
- Sodium: 200mg
- Fat: 2g
- Saturated Fat: 0.3g
- Unsaturated Fat: 1.5g
- Trans Fat: 0g
- Carbohydrates: 30g
- Fiber: 1g
- Protein: 5g
- Cholesterol: 0mg
Keywords: Garlic Herb Dutch Oven Bread, Homemade Bread Recipe, Easy Bread Recipe